Showing posts with label Shadow box. Show all posts

Monday, 9 March 2015

Fantastic Workshop with Art Wynyard Warriors & the Amazing Finnabair!! :o)

I feel a little self indulgent as I have actually spent my Christmas and Birthday money on myself (!) and treated myself to a couple of workshops, organised by the lovely Sue Tucker.  The workshops are held just outside Middlesborough in a great venue and Sue always lays on plenty of refreshments and chocolate!! Take a look here - https://www.facebook.com/NorthEastArtWorkshops?ref=br_tf ) this is the Facebook page where Sue advertises upcoming workshops.  Firstly I got to spend another wonderful afternoon watching Finnabair do her thing, she is such an amazing artist and teacher, and so very generous with her hints and tips, then at the end of the month I get to play along with Andy Skinner - not bad eh?!

The workshop I attended was called Everyday Treasure, and involved turning an ordinary canvas into a steampunk-y shadow box to display a lovely little rocking horse.  One of the most exciting bits when we first get sat down is peering into our goodie bags to see what we've got to play with!! Feels just like a naughty child spying on their Christmas presents early!  Have a look at some of the lovely bits we got:
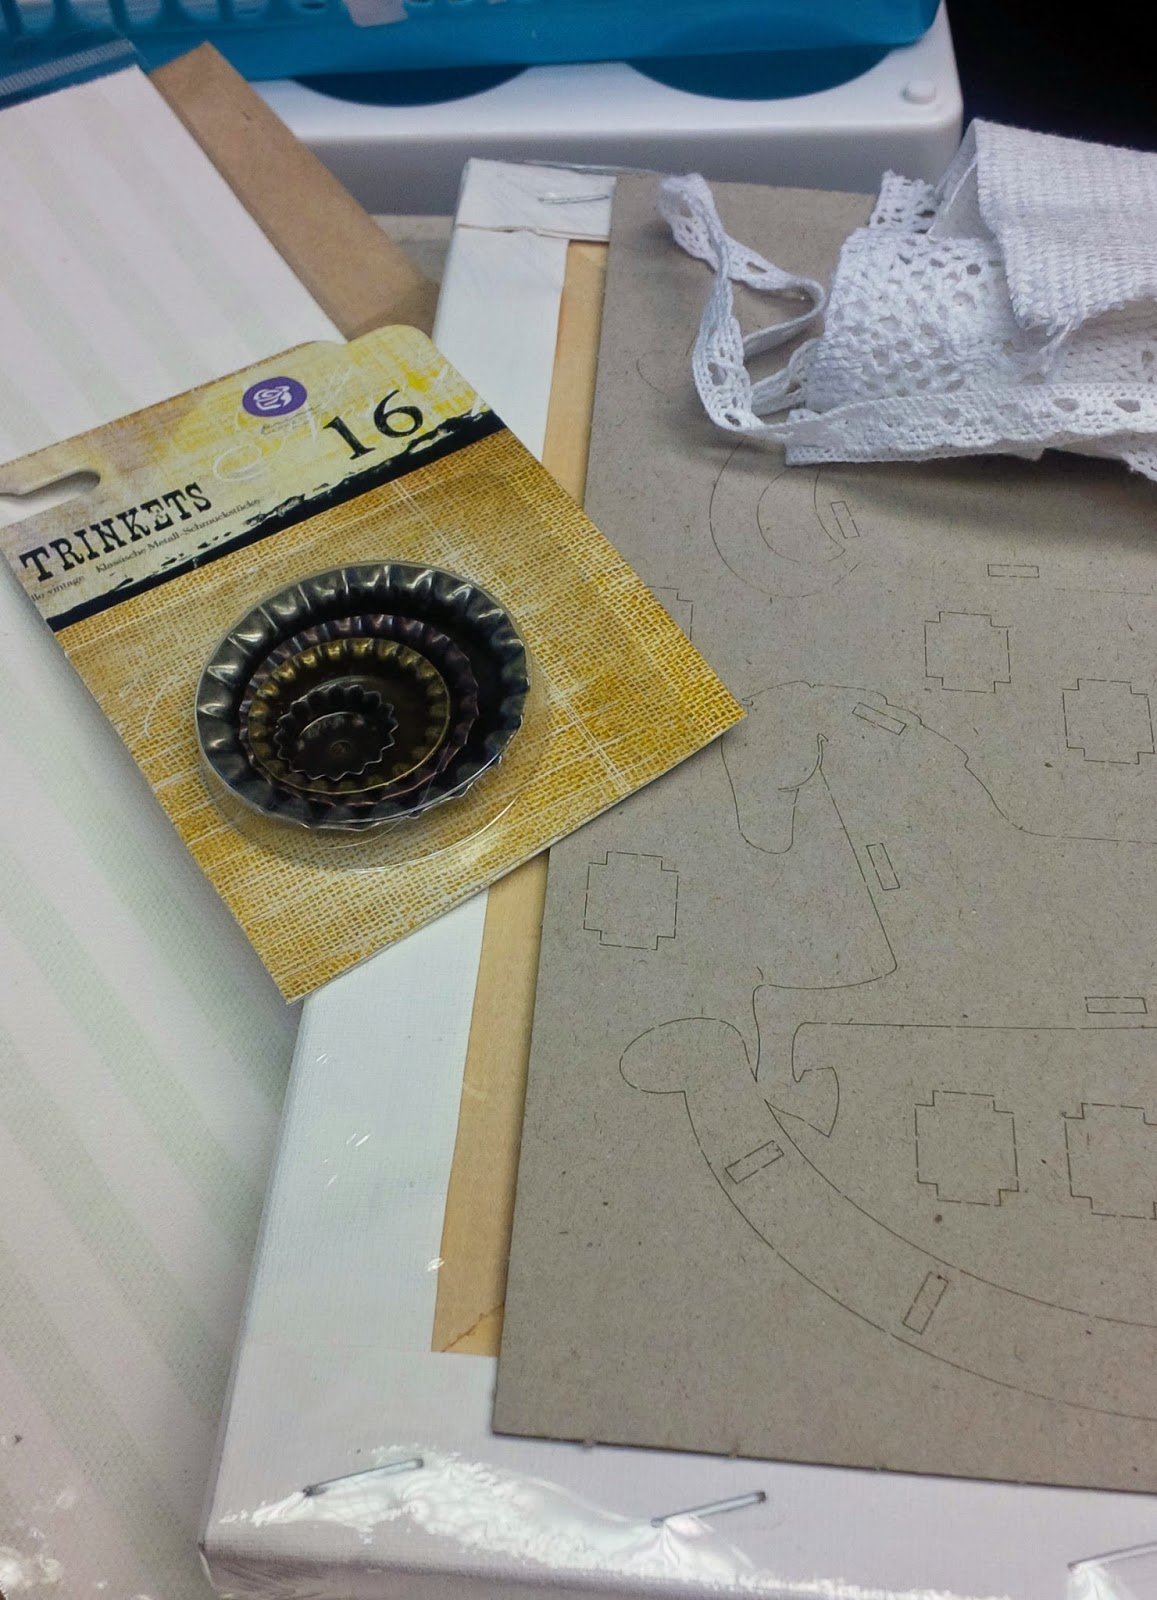

First bit was to set to and build the little rocking horse and then to begin to alter the frame:


As it is Finn's workshop, I won't share all of the steps as it would not be fair to her.  Also as I say she is so generous with sharing her techniques that you would be far better watching some of the videos that she shares on her blog!!  Needless to say that it involved lots of gesso, paints, metal embellishments, pigment sprays and lots of laughter!!


'Slightly' messy fingers!!


Group of Happy Crafters with our finished works of art, and mine is below :


I had such a lovely time, and met up with some fellow crafters who had shared the experience last time too, and now I'm so looking forward to next time!!

Thanks for reading :o)
Steffi xx

I would like to enter this canvas into the following challenges:

Mixed Media Challenge (brand new challenge!!) - Anything Goes - here: http://mixedmediaworld.blogspot.co.uk/2015/03/welcome-to-mixed-media-world.html 

All Crafts Challenge Feb/March - Anything Goes (but no cards) - here: http://www.sparklingblackrose-craftmylife.blogspot.co.uk/2015/02/all-crafts-challenge-febmarch.html

Imagination Crafts March Challenge - Always Anything Goes - here:  http://imagination-craftschallenges.blogspot.co.uk/2015/03/imagination-crafts-march-challenge.html

and

Crafty Calendar Challenge March Challenge - Add Some Metal - here:  http://craftycalendarchallenge.blogspot.co.uk/2015/03/crafty-calendar-march-challenge-add.html


Monday, 19 January 2015

Pink for a New Baby Girl :o)

Hi, today I'm sharing a little mixed media shadow box I've made for Phil's niece and husband's new arrival.  A lovely baby girl :o)

It's another little goodie from Tando Creative, just the right size for some little wooden embellies from That Craft Place. - I bought a New Baby Grab bag, and asked Danny to just include bits suitable for a girl as we knew in advance that they were having a daughter.


I first lined each section with some designer paper in different pink patterns, polka dots, flowers and the like and then set to planning what to put where.  Then I decided whether to paint the embellishments or not, I decided I would, although they would have also worked left plain.  As they are made from 'raw' wood I used gesso on them first, otherwise the wood would just have soaked up all the paint.

The other embellishments are some word tiles, a wooden fairy button coloured with promarkers, two little resin pendant bases, a cute little bottle-cap with a butterfly image, some metal filigree corners and some brads.

I'm really pleased with it, and it's now on display in the new baby's nursery :o)

Thanks for reading
Steffi xx

Saturday, 18 October 2014

31 Days of Halloween - Day 19 - Big Reveal :o)

Well it's past midnight in the UK so I'm posting this now as have a day out planned :)

Well if you've been following along with the Smeared and Smudged blog hop you will have seen my previous posts giving little sneak peeks of today's full project.   I hope you're ready and that you're not disappointed!

Here we go then :


The little shadow box is from Tando, it's been really fun to do. I decided to just shade the frame slightly with Distress Inks in Spiced Marmalade blended with Dusty Concord. I didn't want to paint the frame on this one as I wanted the contents in each little alcove to be the main focus.

There were two cubbies I didn't share, just because they were very simple really the top left section holds a little wooden witches hat (That Craft Place) and the one on the bottom row behind the tickets is holding just some bits of ghost confetti.   I've also added a little skull headed key to the right hand side of the outer frame.

As a reminder, these are all the sneak peeks that led us here:


I hope you think it was worth the wait and the suspense - thanks for sticking with it!!

Remember to visit the other Wicked Bloggers following the link in the blog roll on my sidebar - thanks for reading

Stefanie

I would like to enter this in the following challenges :

Haunted Design House - Use Wood - here:  http://haunteddesignhouse.blogspot.co.uk/2014/10/macabre-monday-you-wood-do-that.html

That's Crafty - Spooky - here:  http://thatscraftychallenges.blogspot.co.uk/2014/10/spooky.html

Altered Eclectics - Another Month, Another Challenge - here:  http://alteredeclectics.blogspot.co.uk/2014/10/another-month-another-challenge.html

Craft and Smash - Gothic - here:  http://craftandsmash.blogspot.it/2014/10/tema-gothic.html

My Artistic Adventure Challenge Blog - Challenge 11 Halloween/Fall - here:  http://myartisticadventureschallenge.blogspot.co.uk/2014/10/maa-11-halloweenfall-challenge.html

and

Rhedd's Creative Spirit - October Challenge Halloween or Not - here:  http://rheddscreativespirit.blogspot.co.uk/2014/10/october-challengehalloween-or-not.html


Sunday, 16 March 2014

Challenge Entry for A Vintage Journey and Craft All Day

There's been a great new challenge blog launch for devotees of everything shabby chic and vintage, especially if influenced by the great Tim Holtz ~ A Vintage Journey (here at http://www.vintagejourney.com/) Their first challenge is simply 'Anything Tim'

I talked a lot at the beginning of the year about wanting to enter a few challenges and this one has inspired me to take part!  I am also entering my piece into the monthly challenge at Craft All Day, where I got a few of my supplies from (http://craftallday.blogspot.com/2014/03/challenge-4-anything-goes.html ) their theme this month is Anything Goes.

One thing I've wanted to create for a long time is a shadow box - I could spend hours (hmm and probably have!) scrolling through all the delicious ones on show on Pinterest.  They just really catch my imagination so I bought a few blanks a while ago but have been waiting for the mojo to hit.  I figured the time is finally right!


I decided to use this little MDF house shaped shadow box, I really like the fact that it has different shaped sections so I could really play around with them.


So my first task was to paint it all black. I used a simple acrylic paint for this, making sure to really get into all the inside corners. I chose black as I wanted to make this one quite antiquey (is that a word!?) a bit like an old library or reading room feel to it, but there are some lovely ones which have been painted white or pale pastel colours which give a lovely shabby chic look. I will try one like this in the future sometime I'm sure.

Once the paint had dried, I spent some time picking out which papers I wanted to use at the back of each section to help give some definition. Again I went darkish papers to carry on the theme.  You might (if you look closely!) notice a few scripty papers and one with maps - two of my favourite things - words and maps!  This is also true with my choice of fabrics - my friends just have to point out either and they know I'll take the bait!


I decided that the longer section at the bottom would work best with a drawer - this though meant I had to create one.  So I measured the opening, depth, length and height and cut some stiff card to a shape that I could then score and fold to make the drawer.  I then lined it and covered the front with more papers and a little washi tape; I also attached a little handle with a couple of small brads.


The next bit was the really fun bit! Choosing which embellishments to put where, and fastening them in to place.


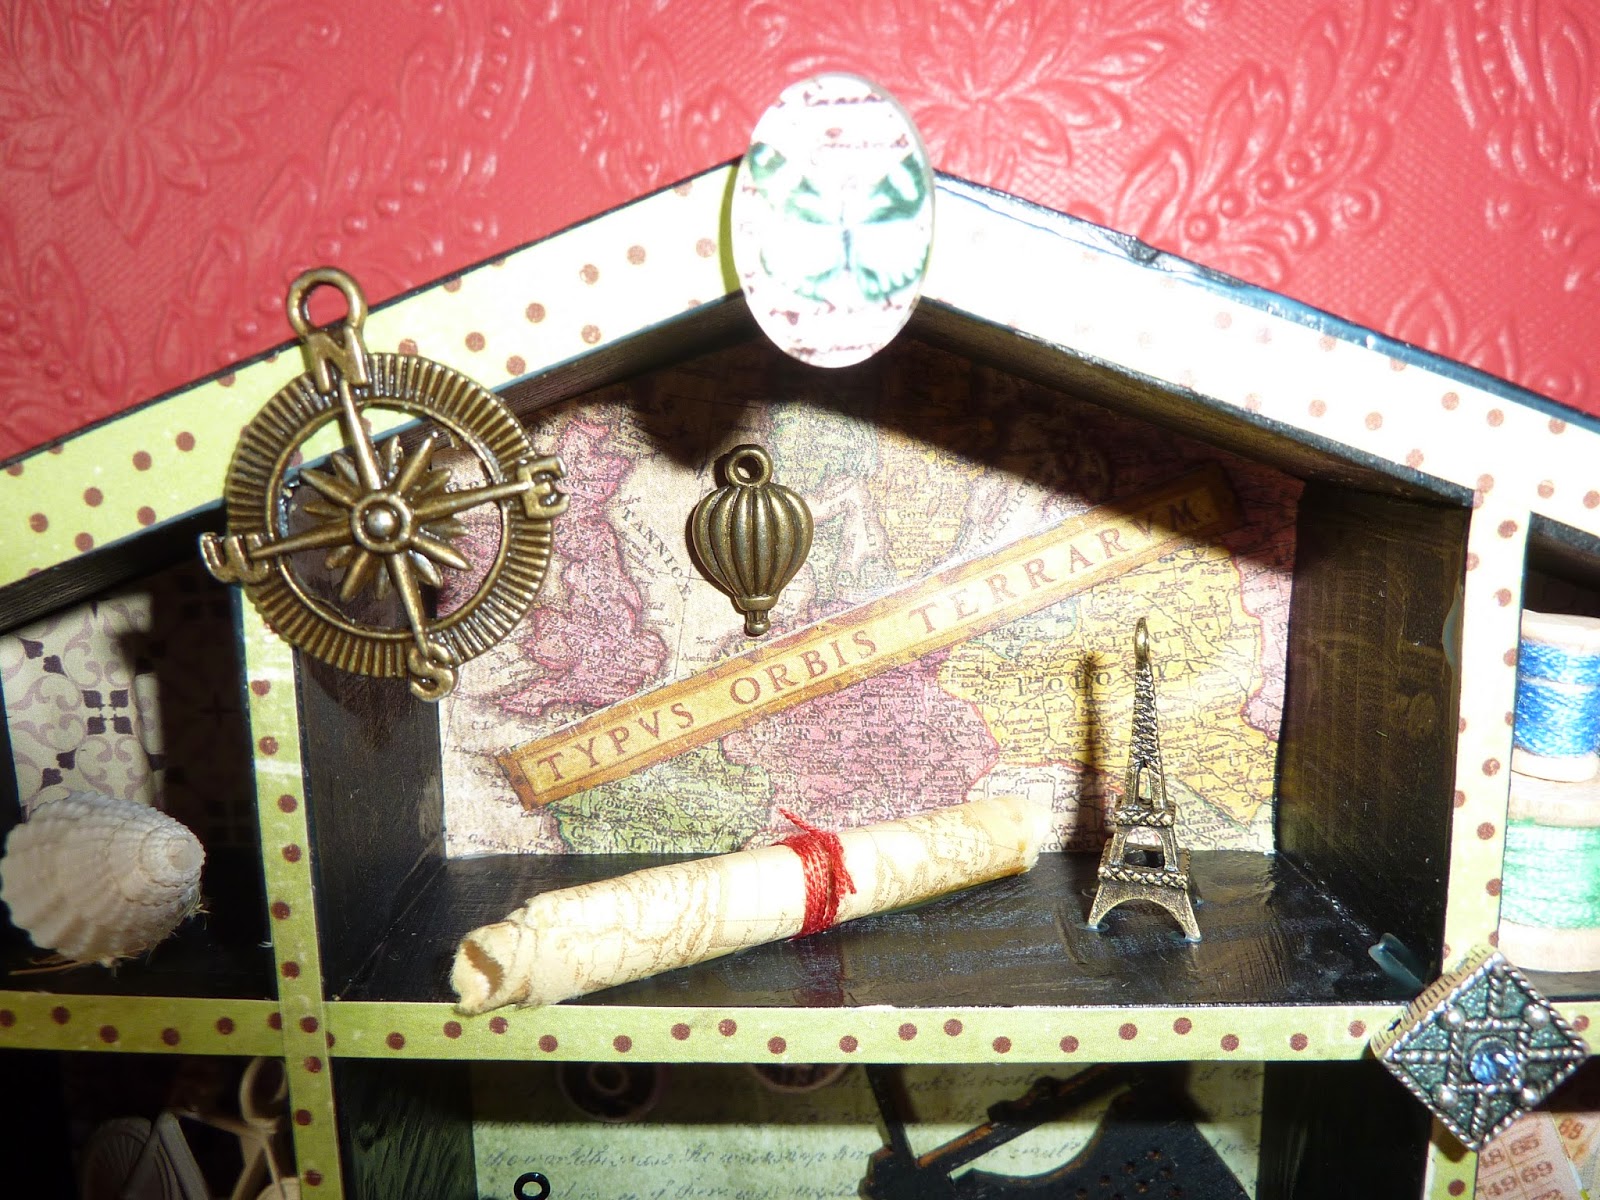
Here are a few close-ups of the individual sections.  My favourites are the 'Words' one - I would really like to have some vintage typewriter keys but haven't treated myself yet - to make these I found a copywright free downloadable image, printed it off and then cut out the letters I wanted and glued them to some little chipboard circles I had - and the 'Map Room' - I spent a long time working out what was missing after I'd placed the Eiffel Tower and the balloon and then it suddenly came to me to make a little map scroll to place in there too.


I'm really pleased with the result, and will definitely be making another.  I hope you like it too.

Thanks for reading!

Stefanie xx