There's been a great new challenge blog launch for devotees of everything shabby chic and vintage, especially if influenced by the great Tim Holtz ~ A Vintage Journey (here at
http://www.vintagejourney.com/) Their first challenge is simply 'Anything Tim'
I talked a lot at the beginning of the year about wanting to enter a few challenges and this one has inspired me to take part! I am also entering my piece into the monthly challenge at Craft All Day, where I got a few of my supplies from (
http://craftallday.blogspot.com/2014/03/challenge-4-anything-goes.html ) their theme this month is Anything Goes.
One thing I've wanted to create for a long time is a shadow box - I could spend hours (hmm and probably have!) scrolling through all the delicious ones on show on Pinterest. They just really catch my imagination so I bought a few blanks a while ago but have been waiting for the mojo to hit. I figured the time is finally right!
I decided to use this little MDF house shaped shadow box, I really like the fact that it has different shaped sections so I could really play around with them.
So my first task was to paint it all black. I used a simple acrylic paint for this, making sure to really get into all the inside corners. I chose black as I wanted to make this one quite antiquey (is that a word!?) a bit like an old library or reading room feel to it, but there are some lovely ones which have been painted white or pale pastel colours which give a lovely shabby chic look. I will try one like this in the future sometime I'm sure.
Once the paint had dried, I spent some time picking out which papers I wanted to use at the back of each section to help give some definition. Again I went darkish papers to carry on the theme. You might (if you look closely!) notice a few scripty papers and one with maps - two of my favourite things - words and maps! This is also true with my choice of fabrics - my friends just have to point out either and they know I'll take the bait!
I decided that the longer section at the bottom would work best with a drawer - this though meant I had to create one. So I measured the opening, depth, length and height and cut some stiff card to a shape that I could then score and fold to make the drawer. I then lined it and covered the front with more papers and a little washi tape; I also attached a little handle with a couple of small brads.
The next bit was the really fun bit! Choosing which embellishments to put where, and fastening them in to place.
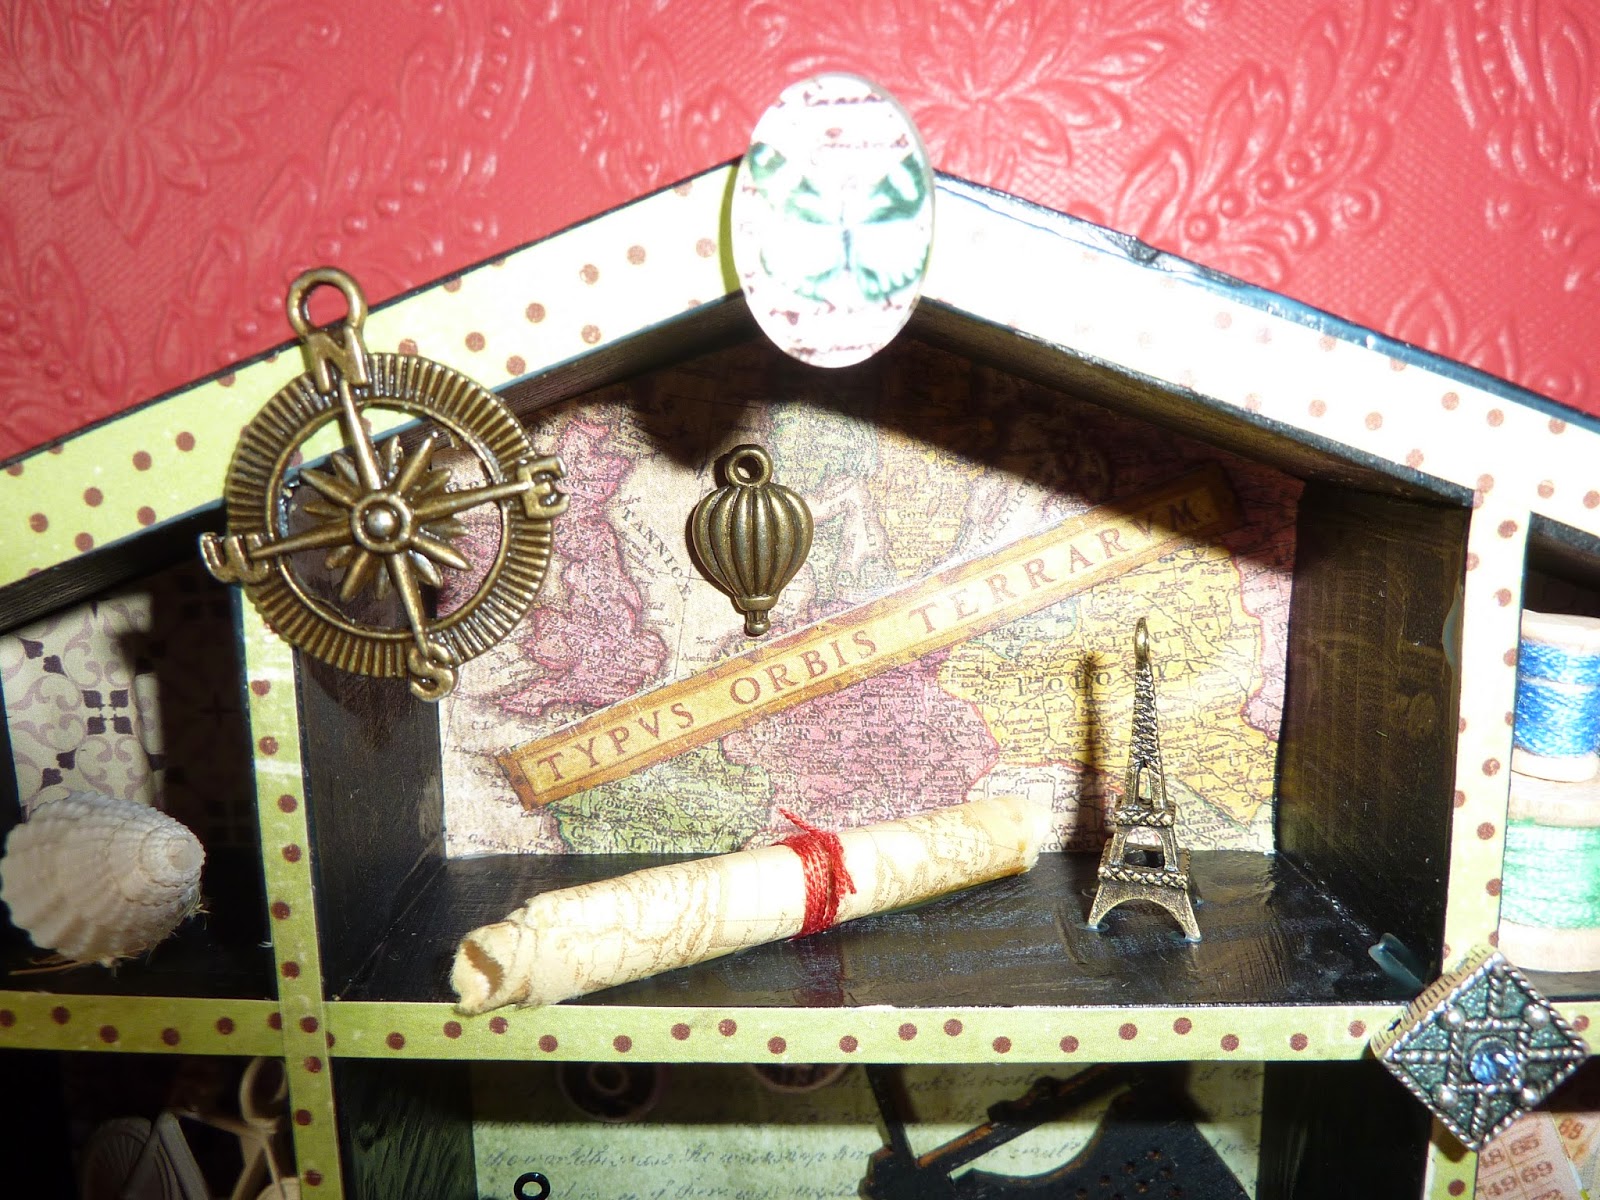
Here are a few close-ups of the individual sections. My favourites are the 'Words' one - I would really like to have some vintage typewriter keys but haven't treated myself yet - to make these I found a copywright free downloadable image, printed it off and then cut out the letters I wanted and glued them to some little chipboard circles I had - and the 'Map Room' - I spent a long time working out what was missing after I'd placed the Eiffel Tower and the balloon and then it suddenly came to me to make a little map scroll to place in there too.
I'm really pleased with the result, and will definitely be making another. I hope you like it too.
Thanks for reading!
Stefanie xx