Friday 11 April 2014

Altered Art Bottle Swap

I mentioned on one of my earlier posts that I had signed up to take part in another swap hosted by Zuzu Petal's Altered Art N Stuff (http://zuzuspetalsstuff.blogspot.co.uk/).  This is my decorated bottle :o)


I started of with an empty alco-pop bottle (not mine I swear!) which I then painted with acrylic paint in a turquoise colour.  My original intention had been to create an underwater treasure bottle of a sort, but that isn't quite how it turned out as you can see!  Unfortunately I didn't remember to get a photo of it at this stage, before I'd covered it with a mix of pva glue and an oyster white paint.  By applying this mixture it didn't peel (in the same way my little altered cupboard did in an earlier post) it sort of 'dripped' down the bottle like candle wax, whilst also allowing glimpses of the turquoise through from underneath which gave it a really nice textured look and feel.  It didn't look anything like I'd wanted it to look - but I was really pleased with it so I just changed my theme!  I've changed it into a shabby chic wish bottle instead!


My next step was to apply Rub and Buff in Autumn Gold over the surface.  I wound some string around the base and a little way up the side, and then added some thin lace at the neck and shoulders of the bottle.   I also added some beads and a leather flower that I had saved from an old necklace.


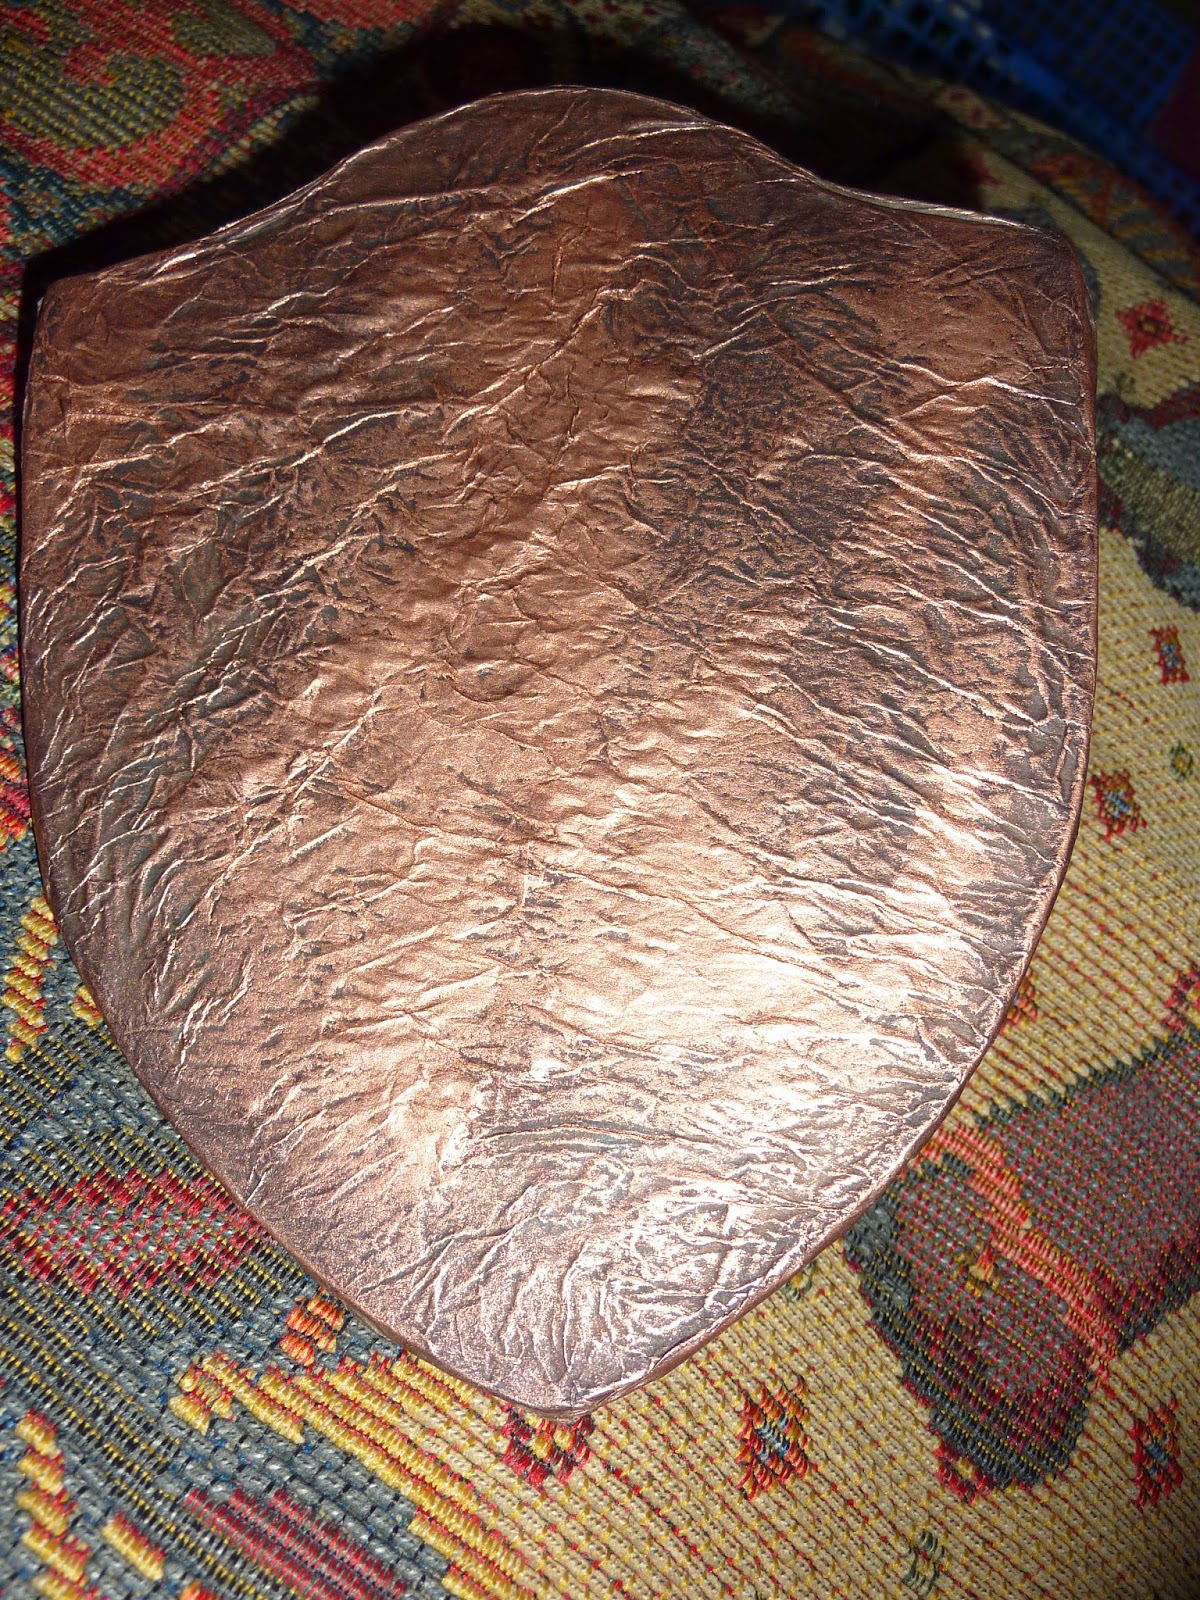
Obviously the bottle needed a label!  So I took a cream piece of paper (about the same weight as watercolour paper) and stamped a sentiment 'Wish Upon a Star' - like the song - onto it using a Stampin Up ink pad - More Mustard.  I then blended Tim Holtz Distress Ink pads in Antique Linen and brushed corduroy across the surface and to the edges of the label.  I added a small wooden star-shaped button which I attached using a piece of copper wire.  I also added a flower embellishment to the base of the label, it was created using the Melt Pot with coloured UTEE which was then poured into a pastry cutter on an upturned script stamp; this gave a raised texture to the piece which I highlighted again using Rub and Buff.  Unfortunately it isn't as clear in the photo as I'd have liked.


The bottle top is from a local antique/junk shop (I live near Horncastle - sometimes known as the Antique Capital and often featured on Bargain Hunt) I had visited to find some little bits and bobs to alter and came across it just on one side without a bottle for a home.  As I was buying a few pieces - tins, thimbles etc the shop owner let me have it :o) All I did was to use a little of the same Rub and Bluff to tie it into the bottle I wanted it's originality to show through.


I'm really pleased with how my bottle turned out, although it is different from what I'd originally envisaged.  This has shown me yet again though that you can work through the challenges of things not going to plan and they can turn out great in the end.

My bottle is now on it's way to it's recipient and I'm looking forward to what I receive in return.  I shall of course post photos.

I've decided to enter this into the following challenges:

Our Creative Corner - With a Song in Your Heart - here:  http://ourcreativecorner6.blogspot.co.uk/2014/04/with-song-in-your-heart.html 'Wish Upon a Star';

Rhedd & Rosies Challenge Blog - Anything Goes -
here:  http://rheddandrosies.blogspot.co.uk/2014/04/anything-goes30th-challenge.html

Vintage Stamping Challenges, Anything Goes - here:
http://www.flonzcraft.com/vsc/?p=1410 ;

Altered Eclectic, Anything Goes - here : http://alteredeclectics.blogspot.co.uk/2014/04/pinch-punch-fist-day-of-month-lol.html ;

And

Pan Pastel Challenge Blog, Pretty Shabby Chic - here :
http://panpasteluk.blogspot.co.uk/2014/04/challenge-11-pretty-shabby-chic.html?showComment=1396992746960 


Tuesday 8 April 2014

tick~tock goes the clock

This is my latest make, a little plaque for my brother-in-law's 50th birthday.


I think it's always difficult deciding how to give something a masculine twist, however Steampunk has made it  a lot easier and as that is a theme I love, I have quite a few cogs, springs and clock-faces lying about!

This is made in two parts, the first is a paper mache plaque, and the second is a re-purposed beer pump clip!  I was lucky enough to snare quite a few of these just last week.  Phil and I had managed to escape for a few days and being real-ale lovers and members of CAMRA we looked up a few pubs.  One that I had especially wanted to visit was The Three Barrels in Berwick on Tweed, it had great write-ups and seemed to boast a great atmosphere - well I'm so pleased we did!  The pub itself is fantastic - definitely worth a visit if you are ever up that way.  The decor is right up my street, very eccentric but it works, it even boasts an old dentist chair!!   Anyway I digress, on one side of the bar was a box of pump clips (these are the plastic labels that attach to the front of a beer pump with the name of the beer on) labelled 'Free to Good Home'!  Obviously I had a good look through, and picked a few I wanted but didn't want to seem greedy.  Phil noticed me drooling (!) and asked the barmaid how many we could take.  All of them if you like, was the reply, as they will just end up in the bin otherwise.  So, they came home with us!


So having decided on a slightly steampunk theme for this, I chose one of the clips that was in a shield shape and covered it with several layers of crumpled brown tissue paper.  Once dry, I rubbed some Rub and Buff in Autumn Gold over the surface, blending it in to the creases then when dry, buffing it with a soft tissue.  Next I took a chocolate coloured ink pad and swooshed this over the top.  It's not easy to photograph the end result, but it came out looking like an aged leather.


The paper mache plaque was made by first sticking various elements on the bare surface, numbers, cogs, stars etc. Then I covered it with a sheet of adhesive metal tape.  This was worked into place, and burnished.  I took a combination of alcohol inks and used these to cover the foil.  The next step was to cover the raised elements with a copper leafing pen.  I used to use this technique all the time, it's great over peel-offs too but haven't for a while.  I think it fits in really well with the theme of this piece so was pleased to give it a go again.


The next step was choosing and attaching the elements to the shield.  I chose a word band from Tim Holtz, some clock faces and a large clock spring.


-


And there you have it!


I am entering this into the following challenges:

Frilly and Funkie Challenge Blog, Time after Time - here : http://frillyandfunkie.blogspot.co.uk/2014/03/time-after-time.html


Artful Times, Heavy Metal - here 

Haunted Design House, Steampunky Junk - here http://haunteddesignhouse.blogspot.co.uk/2014/04/macarbre-monday-186-steampunk-junk.html this fits the theme as the pump clip was destined for the bin!!

and Inspiration Journal, A Few of my Favourite Things - here : http://blog.inspirationemporium.com/?p=2192


Thanks for reading :o)

Edited to add : Wow! I was a winner at Artful Times :oD  and got this great new badge for my blog!!