Sunday 29 December 2013

Christmas Gifts 2013

Well Christmas has been and gone and I did manage to get some presents made - despite nearly running out of time after a few weeks laid low by the dreaded Fibro.

This is the first year I've really made presents for people - well I made a table runner for my other half's niece last year, as it was her first Christmas as a married woman and in her own home too, but other than that I've been a bit nervy of giving presents I've made myself.

This year though I really bit the bullet - made presents for my aunt, other half's mum, sisters and sister-in-law and also his nieces.


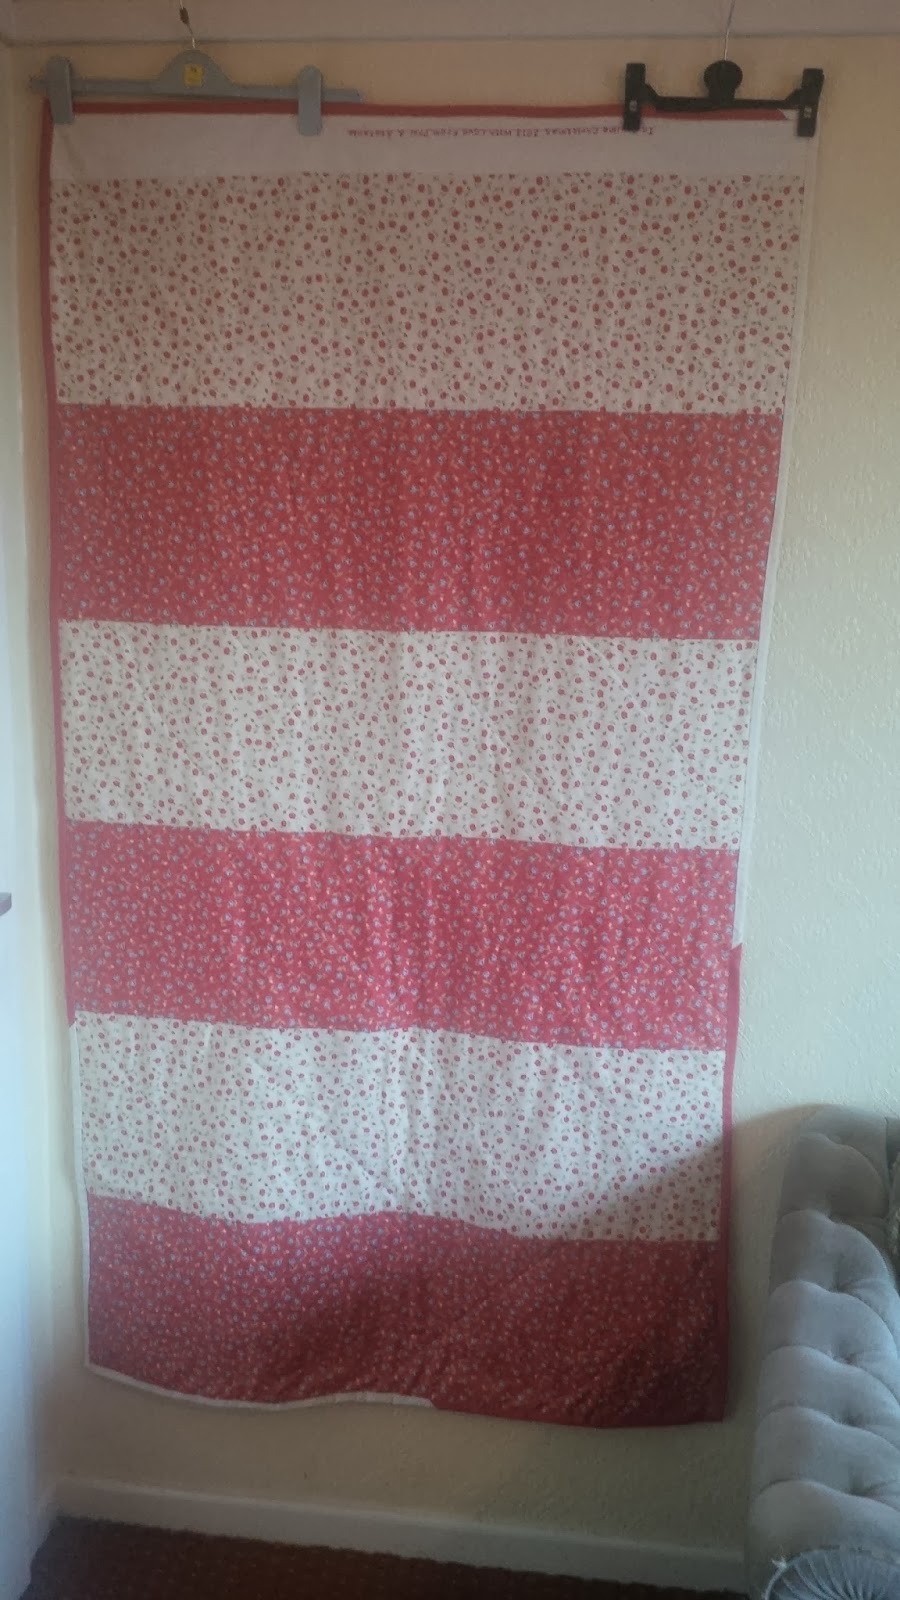
There was another Union Jack cushion too for one of his nieces, in blacks, reds and whites and amazingly it matched with a log-cabin quilt that her great-aunt made and that was with no consultation!  The large quilt I made was for my mother-in-law and is the first full-size quilt I've fully completed - the rest are all at various stages along the way (my very own collection of UFOs)

The rest are all mini quilts with the addition of some stitchery - something I've really gotten into.  I used to do a lot of cross-stitch before the Reynaud's in my hands got too bad, but when I came across the idea for these - in a newsletter by the lovely Jenny of Elefantz (www.elefantz.com) I thought I'd give hand stitching another go.  I'm really pleased I did.  Although I still have problems with my hands I have found that using a TENS machine on them can really help and sitting and stitching is something I can manage when everything else seems too difficult.

I have found a lot of web-sites that have free downloadable patterns for stitcheries; they are easily found if you search for things like embroidery or redwork patterns.  Please though DO NOT just find images on sites like Pinterest and just use those (unless they say you can obviously) think of the designers who have developed the patterns and respect their work.

I also made a little hanging for my patchwork teacher as a thank you for renewing my confidence in being able to take something to completion (forget all the aforementioned UFOs) and to let her know she is very much appreciated.  This year the classes have made a great difference to my life and attitude; I still can't make every class - in fact I missed the last three due to my poor health - but they give me reason to try.  This is the hanging I made for her:


Sunday 15 December 2013

Melt Pot Magic Workshop
 
Had a lovely day's play on this workshop at Craftique in Hessle, Hull (http://www.studiocraftique.co.uk/) definitely worth keeping an eye on the website as many more brilliant workshops in the pipeline for 2014!!
 
We turned up to find the wonderful Hels Sheridan bedecked in fabulous antlers:
 
  and this as our inspiration for the day : 
 
We each had three canvasses - one approx. 8" x 8" and two smaller ones at 2.5" x 2.5".  Hels introduced us to the scraped paint technique - well it was completely new me anyway (!) - using a palette knife to spread the paint thinly over the canvases.  We had one large canvas and two small ones.  The paints I used were mostly from the eco-green range - Sand, Orchid and Black, all acrylic, and an Adirondack dabber in Hazlenut. We built up the layers from the lightest to the darkest (the opposite of if you were using oils) and then adjusting any areas where one colour appeared too dominant.
 
 
Then to creating our images :) Hels had a box load of stamps for us to choose from, initially I picked up a music score one and a butterfly together with a couple of sentiment stamps, but then I spotted this set from Dylusions - Doodle Parts - something I've wanted since I first saw them, so I just had to use those instead - am I'm so pleased I did!
 
 
I used three of them - the mushrooms, the arrow corner and the zentangled swirls.  We stamped them onto a single ply of tissue using archival ink and dried them with the heat tool, being careful to also clean up any excess that came through on the craft sheet underneath.  We had all chosen separate stamps for the smaller canvasses - mine were both sentiments - and also stamped these onto tissue.
 
The next step was to adhere these to the frames using melted beeswax.  I placed my 'Life' sentiment to one side as I knew I would like to put an embellishment next to it, and on the other canvas I put 'Dream' and 'Wish' at an offset angle to each other and then played about with how I would position them.
 
,
Then it was lunchtime!! Amanda laid on a lovely light lunch for us - a choice of soup and breadrolls, followed by mince pies :) That wasn't all though as we were also treated to a mid-afternoon snack of cake!!  Sorry didn't get any photos of that - was too busy eating!!
 
During the lunch break it was a perfect chance to go and check out the shop.  All the usual bits and pieces you would expect in a craft shop but also bits that I can usually only find online.  Tim Holtz Alterations, Dylusions stamps, Melt Pots and accessories plus lots of alterable things too.  I don't know whether it was a good or bad thing that I didn't have my Christmas money with me - I could certainly have spent it all!  Thankfully I'm already planning my next visit and shall attend with full shopping list!
 
After lunch we moved on to using UTEE in the Melt Pots.  This was the bit I was really looking forward to - up until now I'd been stuck with melting embossing powders in empty tin foil pie cases over a tea light - not the safest of operations, and they solidified really quickly, before giving you a chance to pour out how you wanted.  We experimented with Texture Treads, upturned stamps, cookie cutters and molds made from Mold and Pour.  It was great - like watching alchemy take place before your very eyes!  Once our chosen embellishments were set we used hot glue guns to adhere them into place.  What I really liked about this workshop was that all of us (a dozen or so) had turned out pieces that looked different from each others, it had really given us the chance to learn new techniques and put them to use in our own creative styles.


Time seemed to speed up now as we approached the end of the day, another 2-3 hours playtime at least would have been appreciated but armed with all the knowledge gained, I know I've actually got hours of play ahead of me.


Many thanks Hels and Amanda :)


Thursday 5 December 2013

An Altered Birthday Plaque

This is a little plaque that I made for a friend's birthday.  She has a strong affinity to butterflies so I decided to use these somewhere within the finished piece.  I started with a blank chipboard sign that I bought from Sarah here : http://www.craftallday.co.uk/  I covered it with acrylic paint (a mixture of black and green) and whilst waiting for it to dry I took a sheet of scrapbooking paper with music score print and tore a piece diagonally before inking the torn edges with a Tim Holtz Distress Ink pad in Forest Moss; I also punched a piece of the same paper using a Stampin Up Artisan Label punch and inked the edges of that in the same way.  I used a Stampin Up mandala stamp from the Happy Day set on plain card stock of a similar weight and a definition stamp 'Dream and Love' which I also overstamped with an ornate key.  I tore around the edges of these stamps and again edged them with the Forest Moss.  Once the painted sign was dry, I layered all these elements up as shown, gluing them in place with a simple PVA glue.


After they had dried I stuck a small twisted wire butterfly in place on the punched label and a floral wooden butterfly lower down as if it were flying towards the mandala.  I also fastened a Tim Holtz Word-Stick to the bottom of the sign using a thin ribbon in a similar colour to the distress ink; using just a dab of glue to hold it in place.

I'm always a little nervous of giving my art pieces as presents as I'm never quite sure how they will be received - but I was really happy with this and I think she liked it :)

Sarah has just launched Craft All Day's first monthly challenge on her blog at : http://craftallday.blogspot.com/2013/12/welcome-to-challenge-1.html please take a look and have a go - I shall be working on an entry later this week.

Monday 2 December 2013

Ooh look Prima is having a giveaway! Lot's of lovely stencils, stamps AND a gelli-plate!!  You can find all the details here : http://prima.typepad.com/prima/2013/11/with-thanksgiving.html
Good luck!!

Saturday 30 November 2013

So  the last few weeks my Fibro has really been getting me down :( must be the change in the weather I guess, it's meant I've missed the last two sessions of the quilt class that I attend and  so my creativity has taken a bit of a nosedive.

Well, that's just no good.  I started this blog in an attempt to raise me out of the doldrums and boost my creativeness.  Today then I'm posting details of an altered tin I made as part of a swap (my first ever!) organised by the lovely Louise (aka Zuzu)  http://zuzuspetalsstuff.blogspot.com/

The tin itself was an old peppermint tine I found in a bric-a-brac-y shop in Horncastle (known as the antiques capital of the Wolds and often used on Bargain Hunt) and bought for 50p :)
 
My first step was to cover the outside of the tin in aluminium adhesive tape and then colour it with Ranger's Alcohol Inks- I used Butterscotch and Bottle; I then used two different sheets of a steampunk themed scrapbook paper and trimmed them down to cover the lid of the tin inside and out and the bottom of the tin on the inside too.  Once the glue had set, I stuck in a little quote card (I'd picked up a box of mini gratitude cards from a local budget store that was selling 3 for £1!) and a few old watch cogs.  In the bottom corner I glued in two little bottles, the taller one filled with small strands of copper foil and the smaller one with little seed beads.  A little bit of the glue (pva) ran from under the bottles but it discoloured to a sort of rusty look so I left it like that :)
 
Onto the lid.  I stuck in place two ornate filigree pieces and a quote stick across the middle 'Where there's a will there's a way' from the end of the quote stick on a double strand of embroidery thread I hung a small key and a heart.
 
The tin I received back was an old Oxo tin, it was cube shaped which made it different from a lot of the altered tins you see on Pinterest, I was really pleased to receive it :)
 
Zuzu also has a Facebook page here: https://www.facebook.com/pages/Zuzus-Petals-Altered-Art-n-Stuff/250932564937553?id=250932564937553&sk=info which has a showcase of all the tins from the swap, and she will hopefully be hosting many more swaps in the New Year and beyond.
 
Now then, that's cheered me up :)


Monday 25 November 2013


So, I've decided to start a blog (!) eek.  Not going to be a 100% sure what I'm doing but I wanted somewhere other than Facebook to be able to post my crafty makes ~ whether they be bad or good ~ although hopefully more good than bad :)

A little bit about me first ~ I guess that's probably the best place to start!  I'm 43, have two teenage children (17 & 15) and a wonderful man who looks after me!  I've had quite a few incarnations in my life, I started of doing clerical work and spent 10 years at a bank, before moving on to work for Social Services (Mental Health).  I took a year out of working when my marriage broke down as the children were only little but as the elder child started school I returned to Mental Health work ~ this time for the NHS.  Eventually I braved higher education and trained as a nurse ~ I loved it! Thought I had finally found my 'niche' After 18 months working on an acute admissions ward I moved to work at a GP surgery I decided that was where I would stay.  Unfortunately life had other ideas (as it often does) and 2 years down the line I became ill; I was in immense pain, initially in my back but this pain gradually spread to the rest of my body and I was wracked with exhaustion too.  I had several episodes off work and each time I tried to return it got harder and harder; after around 6 months of this and many tests and scans I was diagnosed with Fibromyalgia.  It felt like a really long journey up until this point, however many many Fibromyalgia sufferers can wait 10 years or more for a diagnosis.  Looking back through my medical history with my GP running through all the ins and outs of my ailments across the years revealed I'd probably had this since my mid-teens but had been able to cope with it up until now.  To cut a long story short I had to leave my dream job behind and as yet have been unable to return to the world of work.  I won't dwell on this episode more here but in my bio (when I've written it!) I'll include some more information about Fibro and how it can affect its' sufferers ~ Fibromites as some of us call ourselves.

The posts will probably be few and far between ~ especially to begin with ~ due in part to my health issues but also because of the newness of all of this ~ but hopefully I'll get into the swing of things eventually!

I'll add a couple of photo's now so you can see where I'm starting from ......


These are some photos of a little shrine I made for my Aunt's 60th birthday.  It's actually an altered clock housing.  I sanded it down and then using a PVA glue I covered it in black crepe paper inside and out.  I created the front flap (door) using a piece of card which I also covered in the crepe paper and also backed the open housing with the same.  I used a small amount of a metallic silver paint over the crepe paper ~ this was courtesy of Colourcraft ~ in order to highlight the texture ~ now I would possibly use a little gilding wax instead. The back sheet and the family blessing on the door where from a magazine free gift.  The three bottles are Tim Holtz ones each filled with different colours of glitter (or fairie dust!) and then glued into place in the corner.  The middle photo also shows a 'dangly' in the top left hand corner of the shrine.  This is a wire wrapped coin from the year my Aunt was born.  I added a piece of raw amethyst in the corner opposite the bottles to try and balance it out and a couple of butterflies as she likes those.  Then I added a Zutter book closure to hold the door shut.  I was really pleased with this as it was my first attempt at altering something and straying a bit from the usual ~ what do you think?


I really like playing with textiles too but most of my completed projects have been this year ~ as my confidence has grown ~ and will be for Christmas pressies so no photos of those just yet!!
 
 
So that is my first post ~ I hope you've been able to follow it ~ if so thanks for sticking with it until the end!!