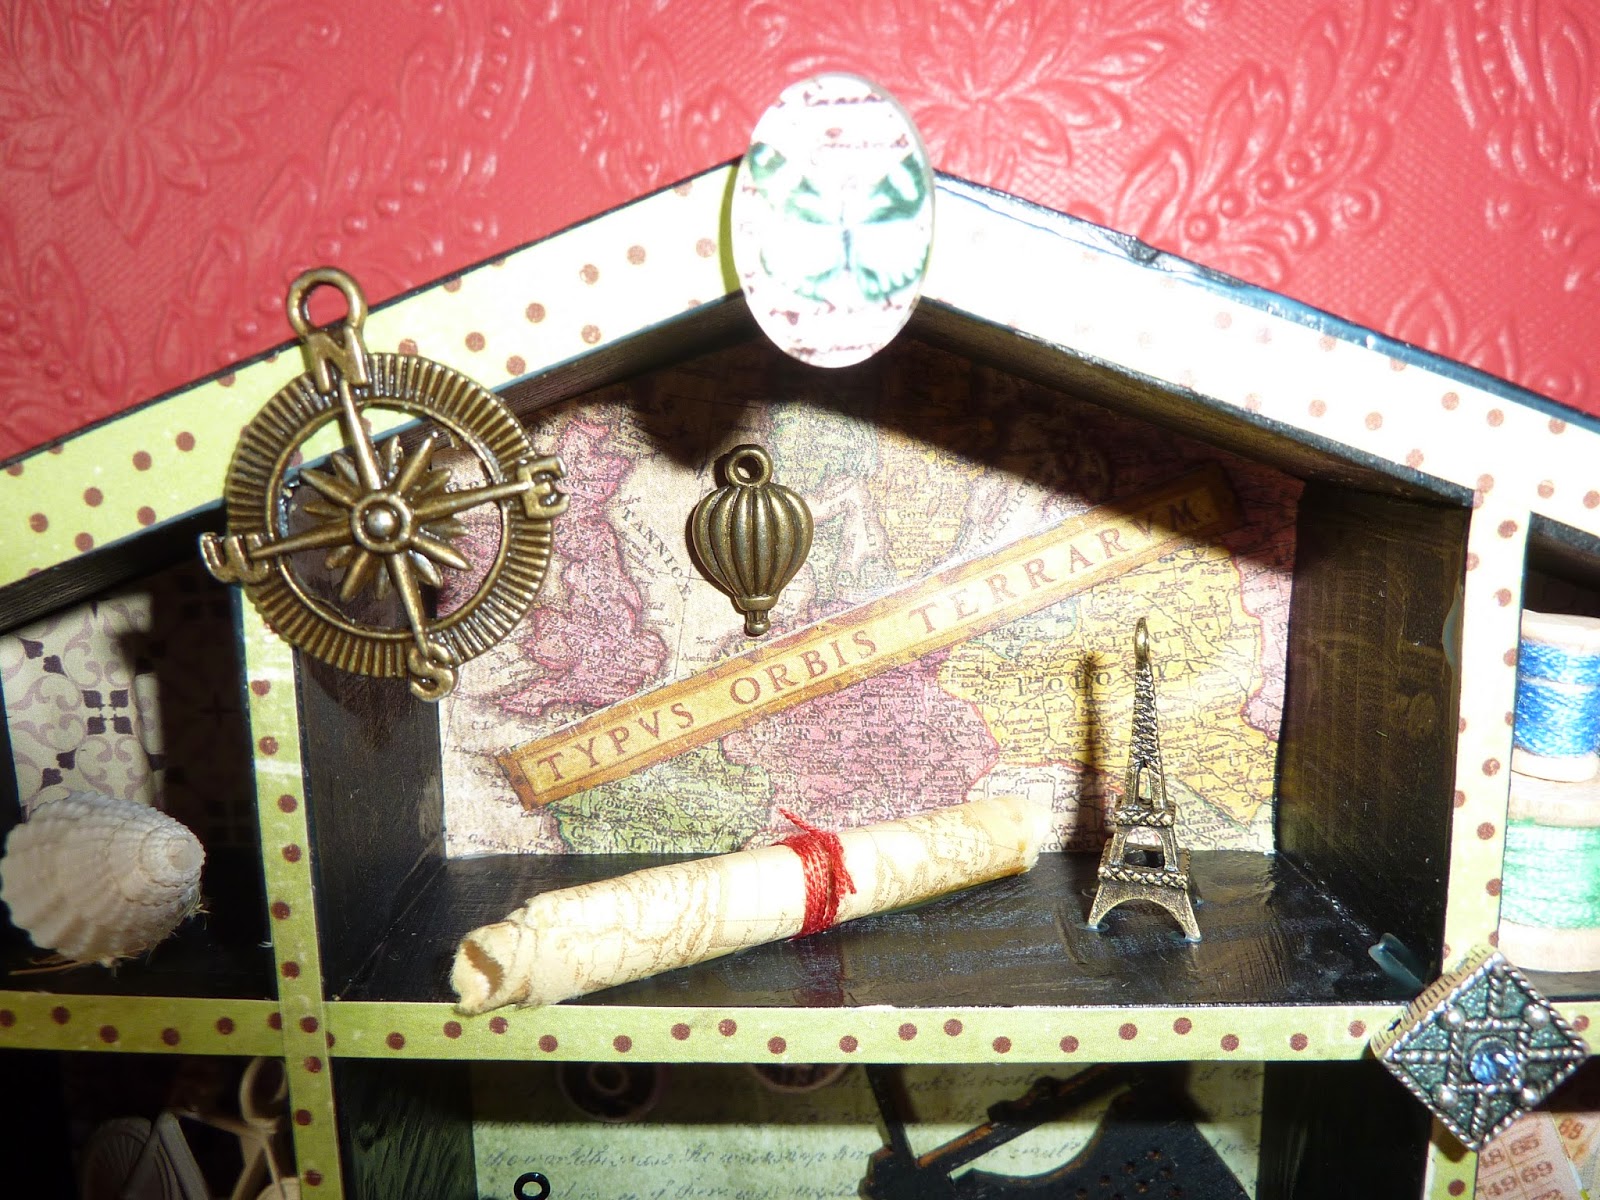
I talked a lot at the beginning of the year about wanting to enter a few challenges and this one has inspired me to take part! I am also entering my piece into the monthly challenge at Craft All Day, where I got a few of my supplies from (http://craftallday.blogspot.com/2014/03/challenge-4-anything-goes.html ) their theme this month is Anything Goes.
One thing I've wanted to create for a long time is a shadow box - I could spend hours (hmm and probably have!) scrolling through all the delicious ones on show on Pinterest. They just really catch my imagination so I bought a few blanks a while ago but have been waiting for the mojo to hit. I figured the time is finally right!
I decided to use this little MDF house shaped shadow box, I really like the fact that it has different shaped sections so I could really play around with them.
So my first task was to paint it all black. I used a simple acrylic paint for this, making sure to really get into all the inside corners. I chose black as I wanted to make this one quite antiquey (is that a word!?) a bit like an old library or reading room feel to it, but there are some lovely ones which have been painted white or pale pastel colours which give a lovely shabby chic look. I will try one like this in the future sometime I'm sure.
Once the paint had dried, I spent some time picking out which papers I wanted to use at the back of each section to help give some definition. Again I went darkish papers to carry on the theme. You might (if you look closely!) notice a few scripty papers and one with maps - two of my favourite things - words and maps! This is also true with my choice of fabrics - my friends just have to point out either and they know I'll take the bait!
I decided that the longer section at the bottom would work best with a drawer - this though meant I had to create one. So I measured the opening, depth, length and height and cut some stiff card to a shape that I could then score and fold to make the drawer. I then lined it and covered the front with more papers and a little washi tape; I also attached a little handle with a couple of small brads.
The next bit was the really fun bit! Choosing which embellishments to put where, and fastening them in to place.
I'm really pleased with the result, and will definitely be making another. I hope you like it too.
Thanks for reading!
Stefanie xx


What a brilliant project, love how your "decorated" your little house, it looks stunning with all these different elements!
ReplyDeleteThanks so much for joining us over at A Vintage Journey!!
Thank you Astrid :o)
DeleteWhat a fabulous little house. I have one which has been waiting on me to decorate. I might just have to do it now x
ReplyDeleteThank you so much - I hope you do decorate yours, mine's been waiting ages! But I'm really pleased with how it's turned out now I've finally done it!! Let me know if (when!) you do :o)
DeleteThis comment has been removed by the author.
ReplyDeleteWhat a lot of beautiful elements and details in your house. Thanks for travelling on A Vintage Journey and sharing it with us.
ReplyDeletehugs {brenda} x0x
Thank you :o)
Delete